DIY TASSEL NECKLACES

Today I am sharing one of my favorite posts yet AND it’s a diy one. This is my tutorial on how to make your very own tassel necklaces. As we all know these necklaces are every where right now, so in fashion and quite expensive!
This weekend we went to Shelton Vineyards for a lovely Mother’s Day picnic and surprised my mom (happy late Mother’s day to all the awesome mommy’s out there!). The vineyard shop was selling wooden tassel necklaces for $85 to $100 each (CRAZY!!). The crafty family that we are decided that we could make them for a fraction of the cost and make them better at the same time (family meaning my mom, my sister and I- dad just hung out while we made them).
We shot on over to Hobby Lobby to stock up on supplies and started making these necklaces. It’s easy, fun and extremely simple to make these diy tassel necklaces in your home. Not to mention how cheap this project is and the results are soooo pretty!
If you keep reading you will find an easy break down from what to buy, what to use, and how to do it with easy tutorial pictures. If there are any questions don’t hesitate to ask. You can send me a message on my about page or comment on the post!
I am posting pictures/instructions on how to make 3 different necklaces (all with tassels):
– cream & black long necklace w/ light blue grey tassel
– one long neon orange and cream necklace w/ emerald color pop neon tassel
– one medium neon orange & neon pink necklace w/ 6 mini tassels
What you need:
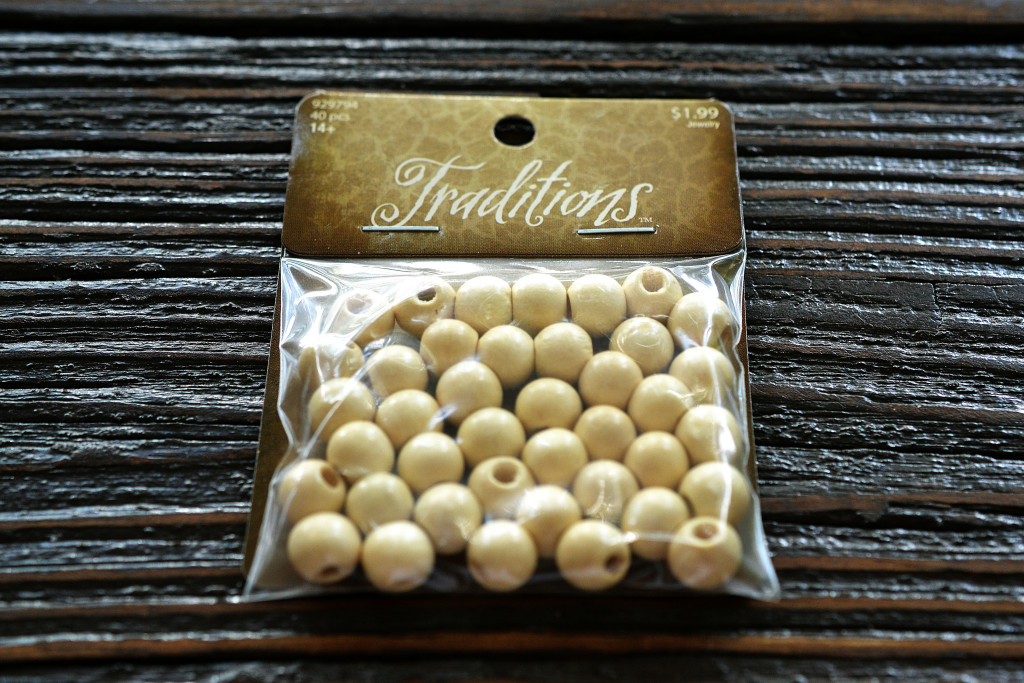
– wooden beads any color (cream, white, brown, grey, red)
– neon beads any color (I used orange & pink)
– embroidery thread any color (I used old embroidery thread that was left over from my Granny Wray’s embroidery, and new thread as well) x2 for big tassels
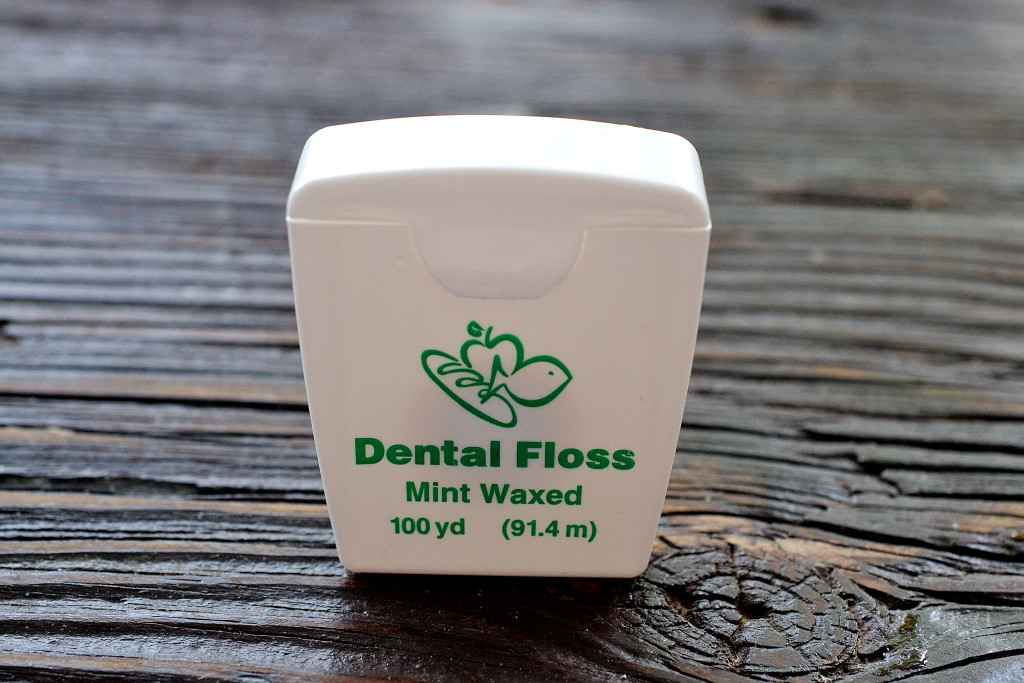
– dental floss (yes)
– tiny circular hoops (for mini tassels only)
– variety of big beads, mini beads, stones, any preference
– thick cardboard
– scissors
– cutting board/rotary cutter/ruler (not necessary scissors work as well)
– fabric glue for finishing
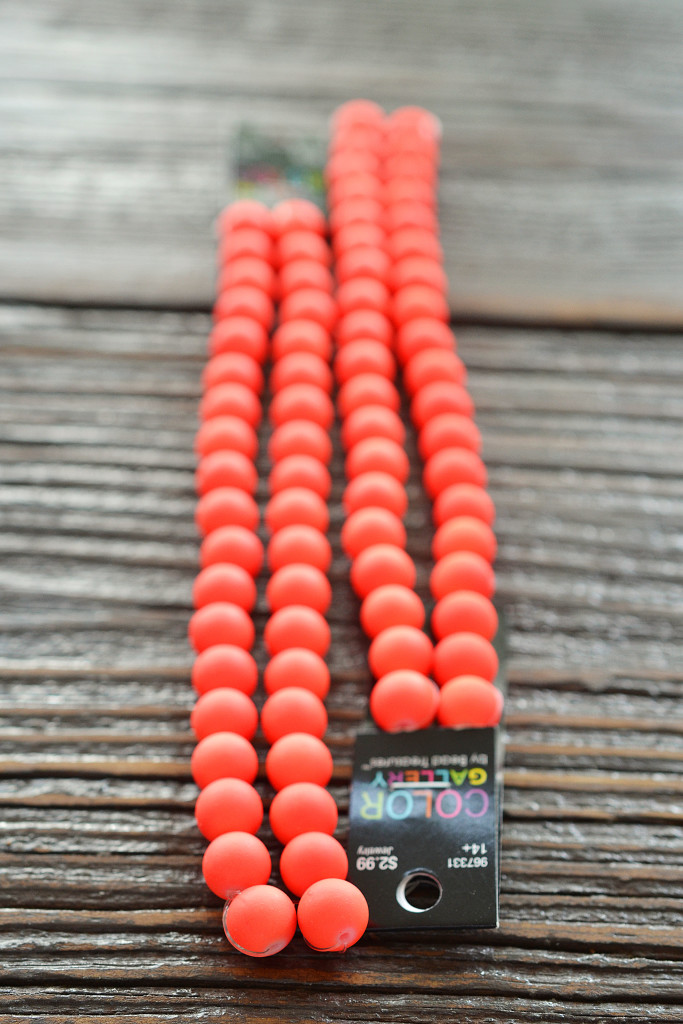
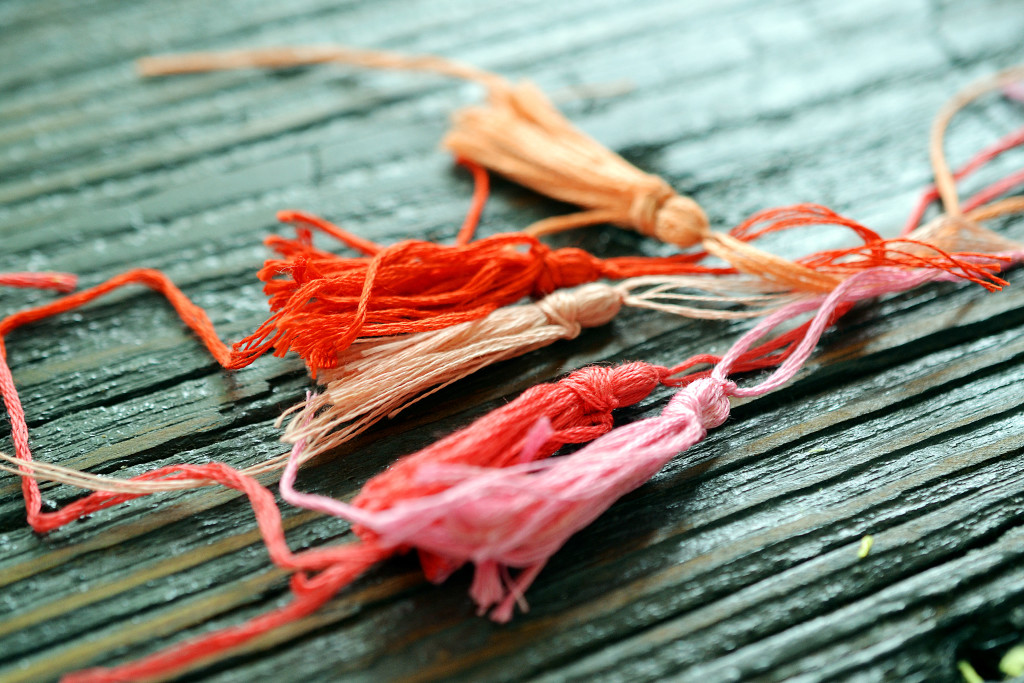
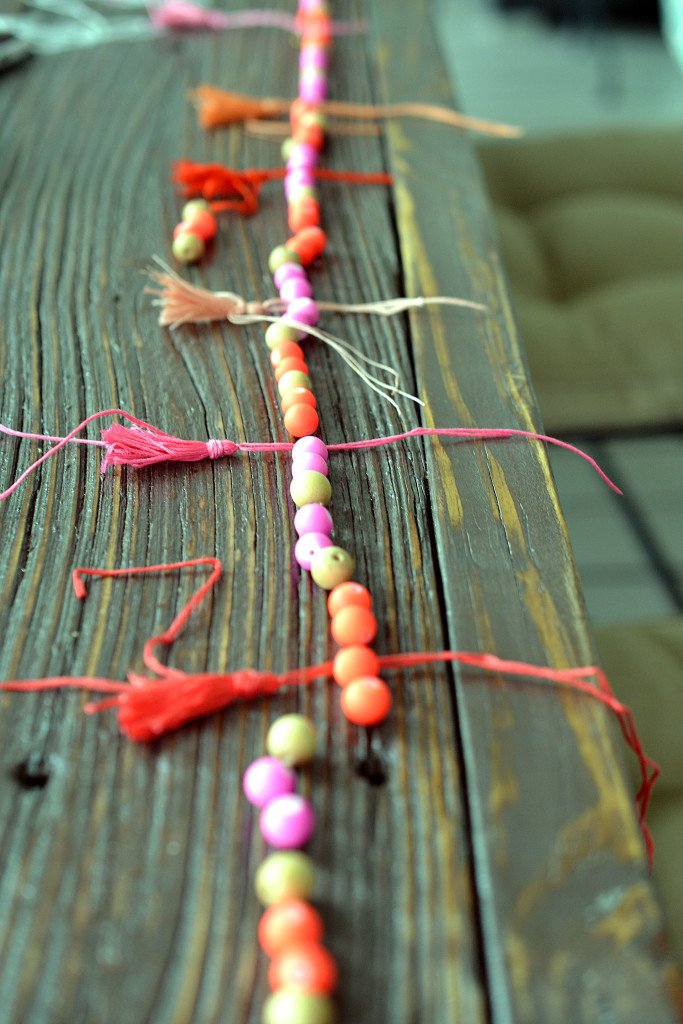
[these are the wooden and neon beads I used from Hobby Lobby]
How to make tassels:
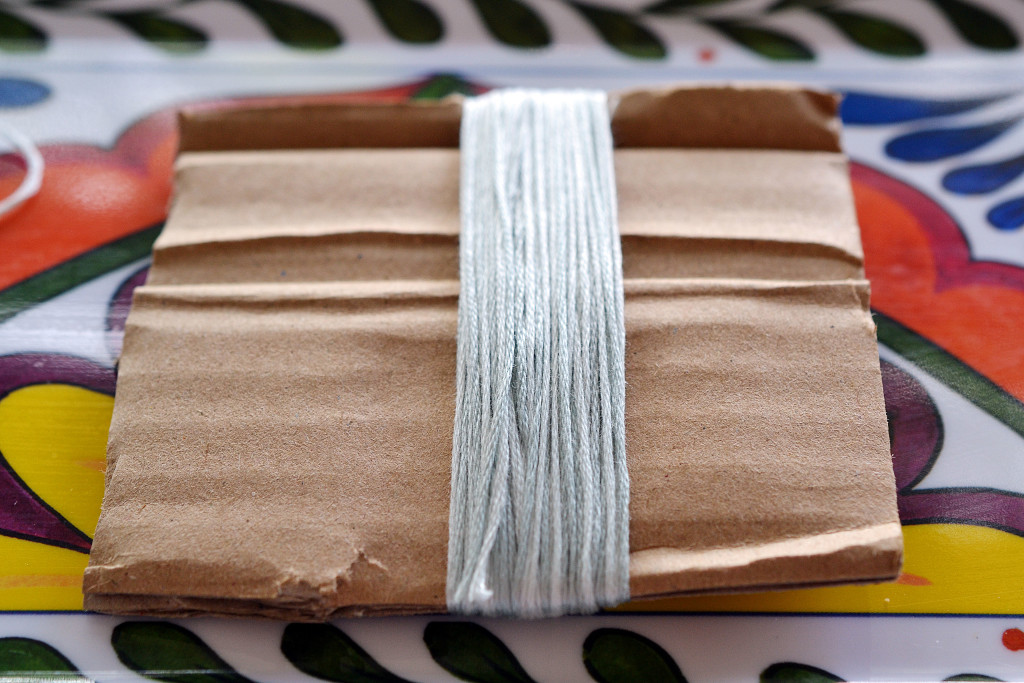
1. Start with your cardboard, cut to desired size for tassel
– remember the length of the cardboard will be the length of the whole tassel
– my cardboard measured 3.5″
2. unwrap 2 embroidery thread packages
-place together and line up at the bottom back side of the cardboard
– wrap thread around the cardboard until you have 2 wraps left
– cut thread at the bottom front of the cardboard
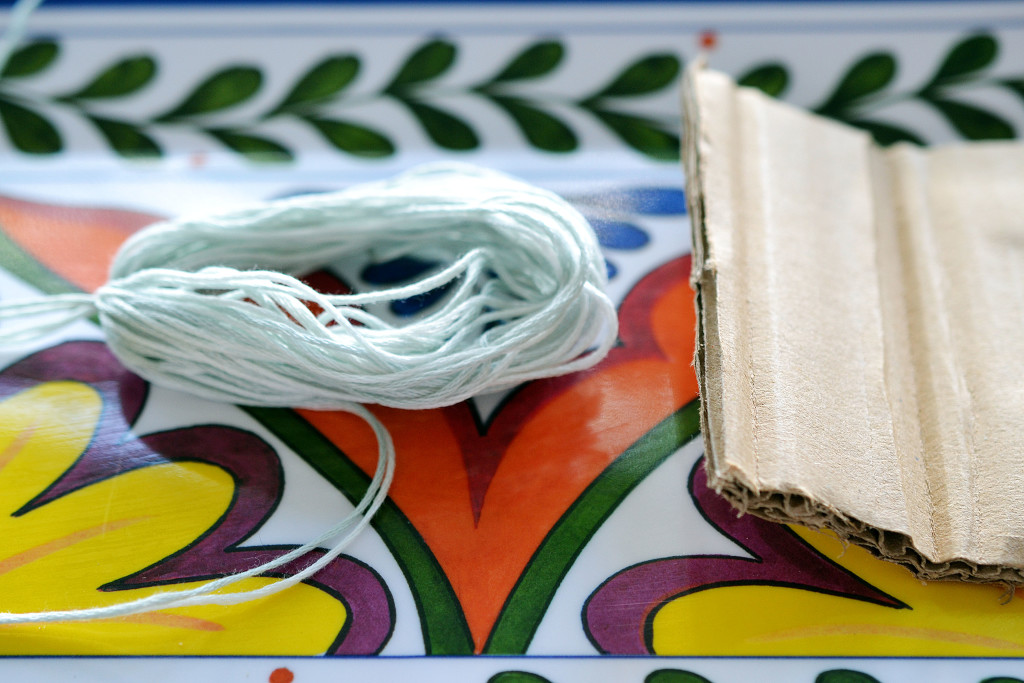
3. fold the cardboard in half lengthwise and slowly slide thread off
– guide fingers under the top part of the thread to hold in place
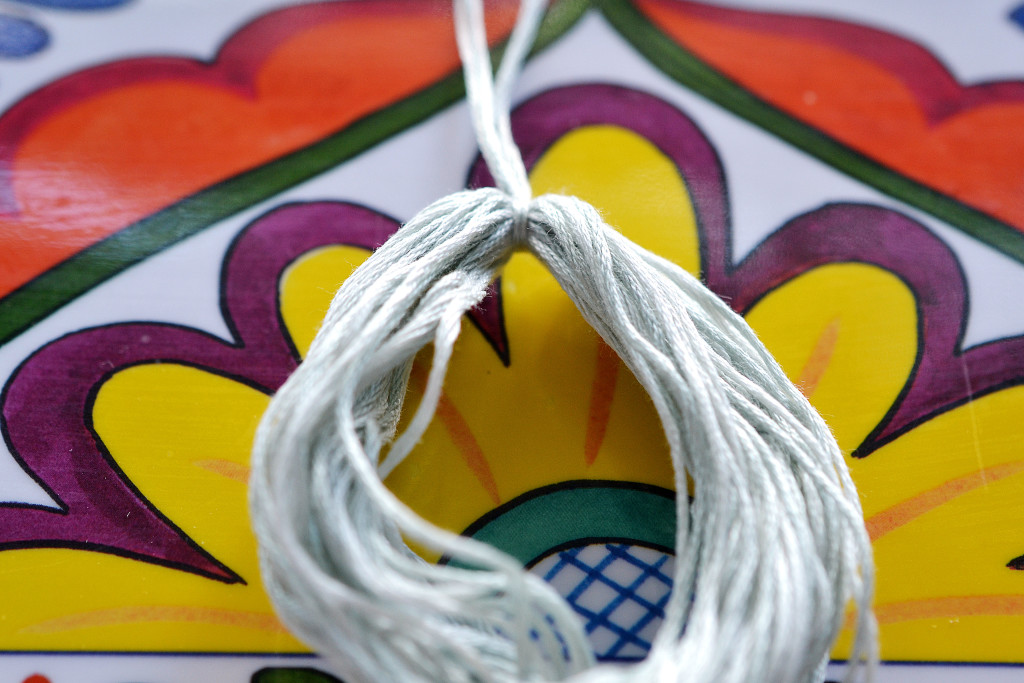
– take one strand of leftover thread and slide into the top loop of the thread, line up ends and tie two knots to secure
4. take scissors and slide through the middle section of thread to cut the bottom loops
– make sure you are cutting all the loops and pull the scissors tight to cut evenly
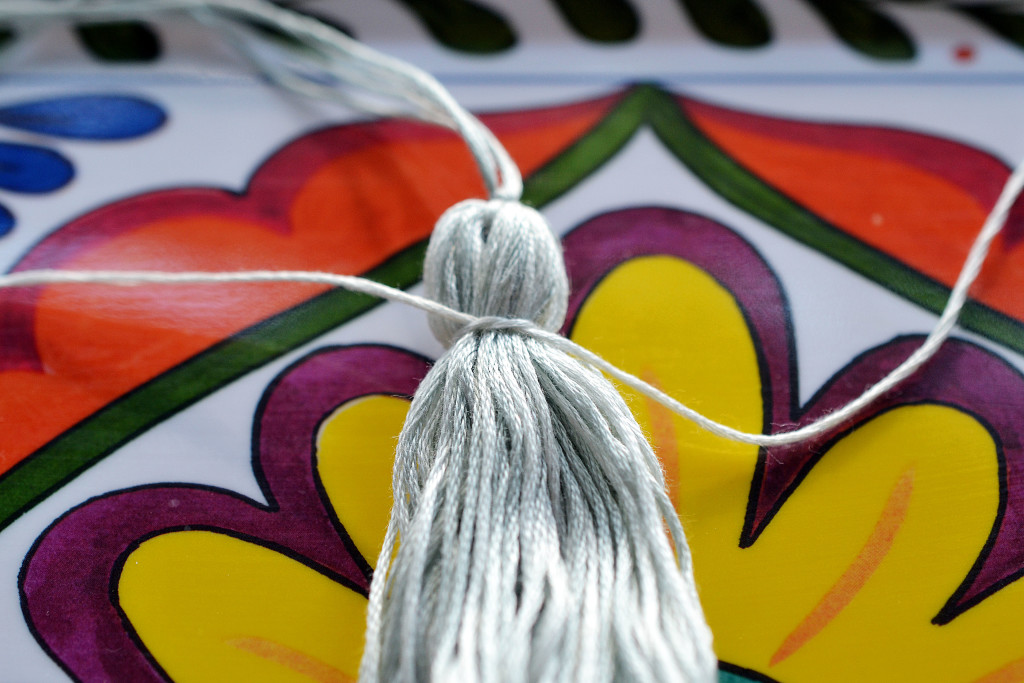
5. take the left over piece of thread and slide under the top of the thread below the knot holding the tassel
– place the piece of thread underneath and tie a knot
– move it until it is near the top and how you want it
– tie a second knot to secure it
6. take one thread and wrap around the knot until it is almost gone
– repeat with the second piece
– tie together in two knots and let hang down
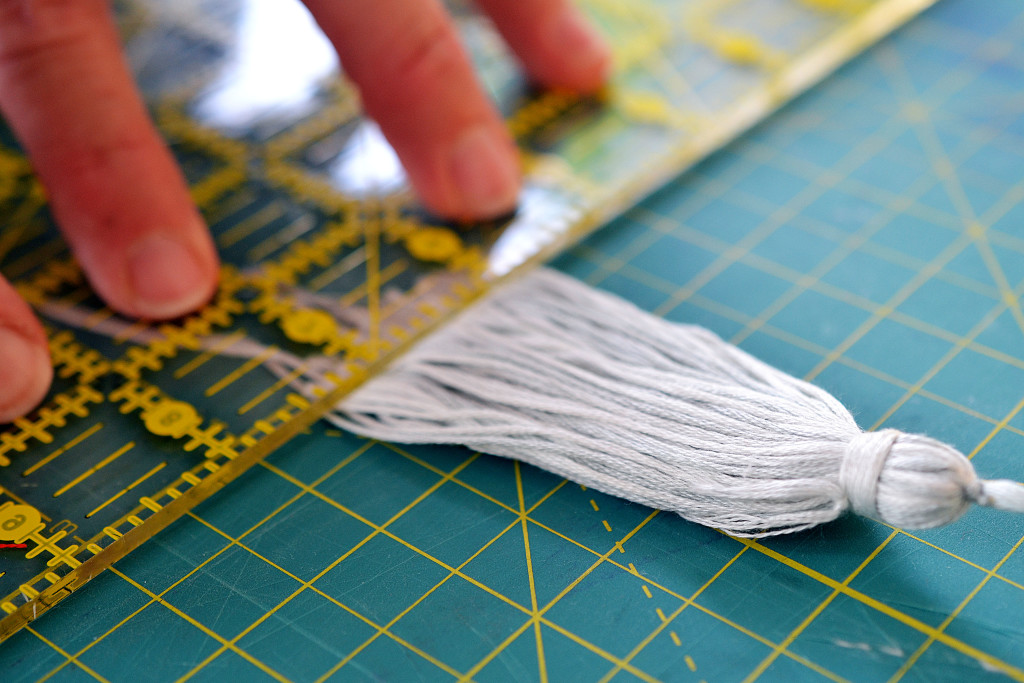
7. Brush/comb the tassel gently to straighten all threads
– use a cutting board, ruler, and rotary cutter to cut the bottom of the threads off, or just use scissors
Your tassel is finished!
How to bead the necklace & secure tassel:
Cream & black necklace w/ grey blue tassel
1. Use two small beads and one large bead to start
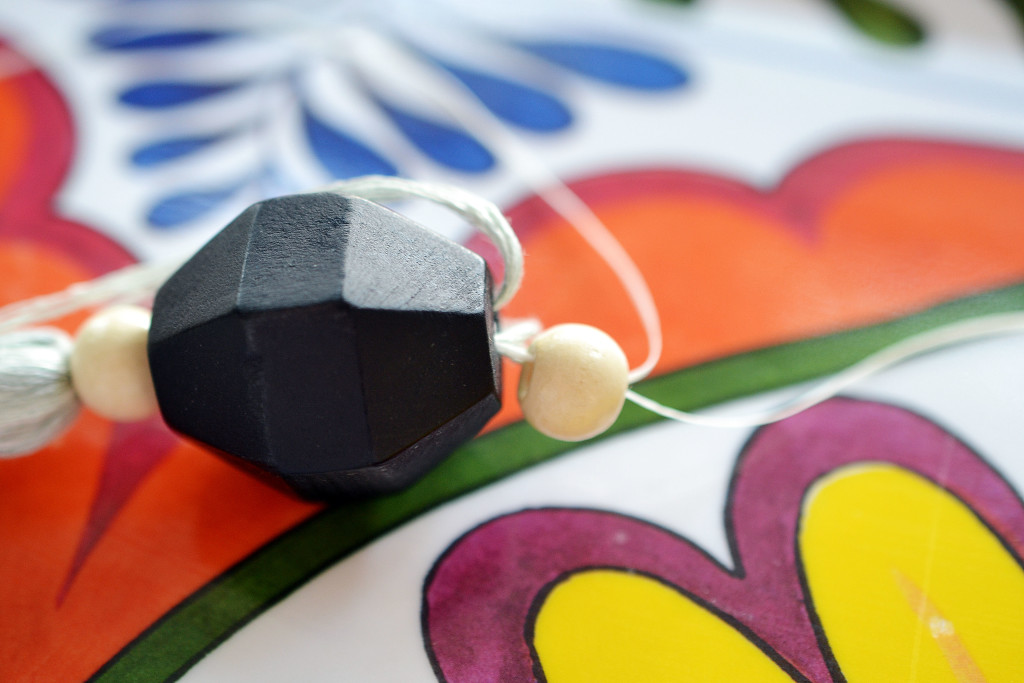
– thread one small bead, then a big bead, then a small on the top of the tassel
2. once threaded onto the tassel top measure out dental floss length: measure how long you want it and go at least 3″ more on each side, cut and fold in half
3. tie the top of the tassel threads to the center of the dental floss, tie two tight knots
4. Thread one small bead over the two pieces of dental floss, separate the two floss pieces and keep beading your necklace
5. bead every other with small cream wooden beads and mini black glass beads or any other type until 2/3 of the way
6. stop alternating two beads and bead only the wooden beads for a color change
7. tie the ends together in two/three knots, cut a small strand on each (not too short)
8. glue the knot with a small amount of fabric glue and let it dry
This one is finished!
Neon orange long necklace w/ color pop tassel
1. Create tassel following instructions above, instead of using the same thread color to wrap the top of the tassel use a color pop that matches your beads
2. measure out dental floss and cut more than you need
3. fold in half and tie tassel to the middle section until secure
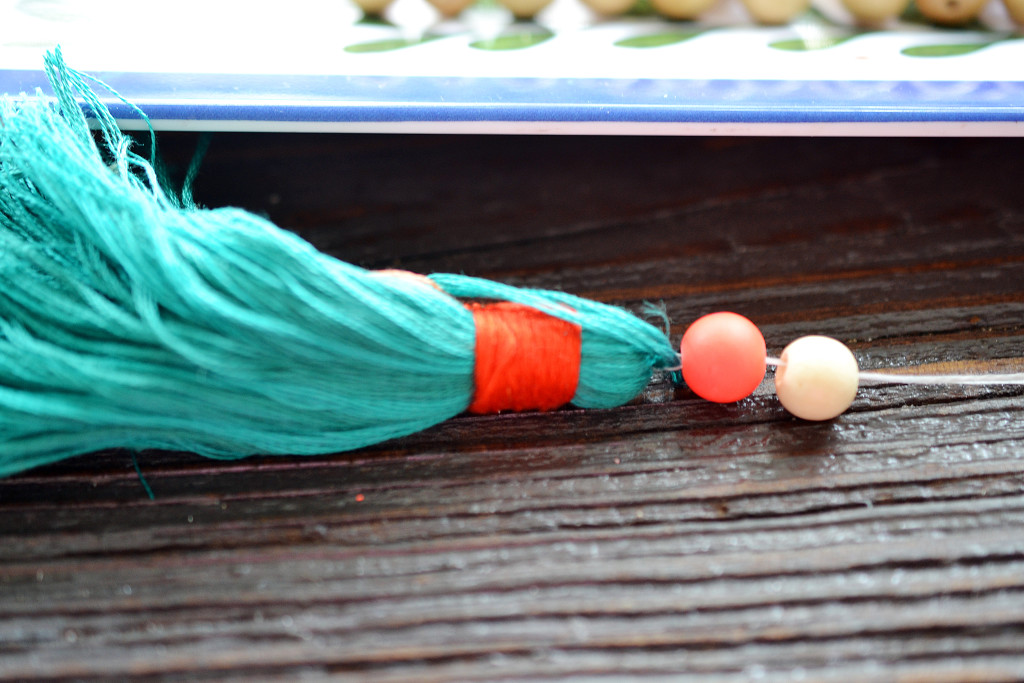
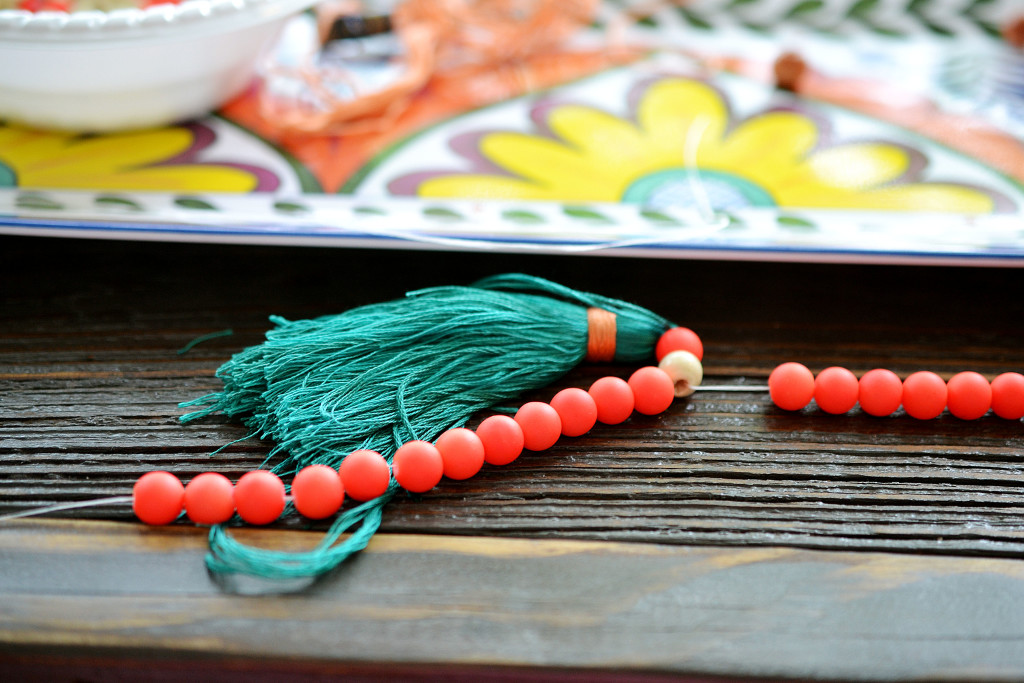
4. thread one neon bead and then one cream wooden bead over both strands of dental floss
5. separate the two strands and thread neon beads until halfway (I did 18)
6. thread another neon color bead, then a plain bead, then the same color neon bead
7. bead with the same beads you used on top of the tassel until the top of the necklace (I did 22 beads on each side)
8. knot twice and cut, glue knots to set
This one is finished!
Neon orange and pink necklace w/ mini tassels:
1. Make 6 mini tassels that same way the large ones are made, use your two fingers (index and middle finger) instead of the piece of cardboard
2. repeat instructions to finish tassels
3. measure dental floss and cut with extra length
4. plan out your pattern with all beads and little gold hoops on a flat surface to evenly place your tassels
5. thread necklace with all beads and tiny hoops for the mini tassels
6. once it is threaded gently tie each tassel to all 6 hoops
7. tie necklace top with 2 knots to secure
8. glue each metal hoop with fabric glue and also glue top knot to secure
This one is finished!
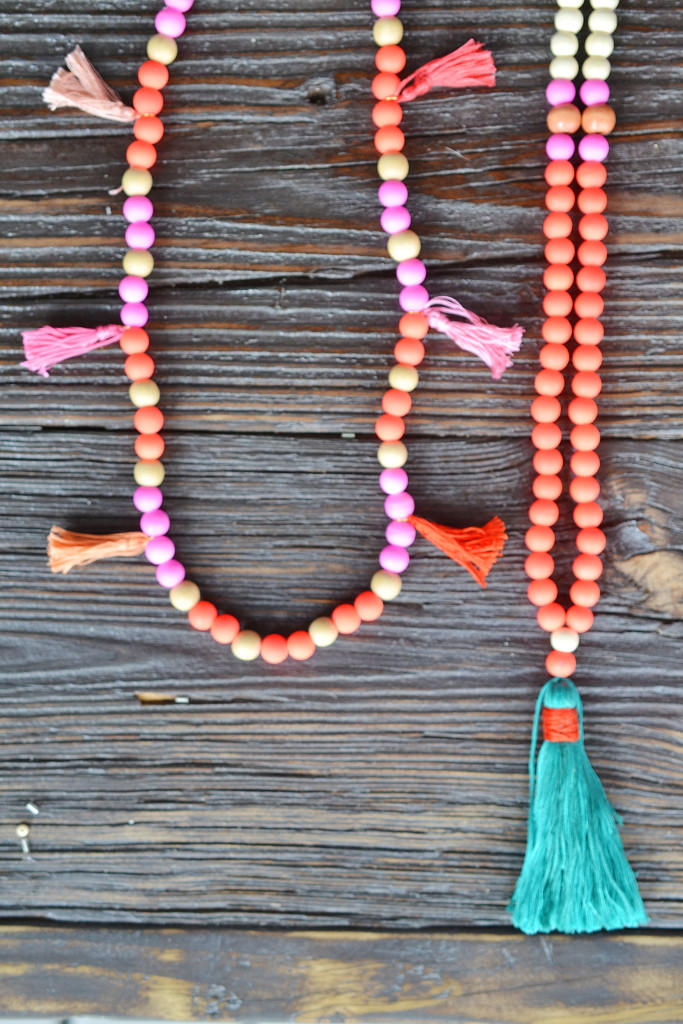
Layer the two necklaces for an awesome layered tassel look or wear them all separately!
[picture of my Mom’s two beautiful tassel necklaces on the left and my two on the right]
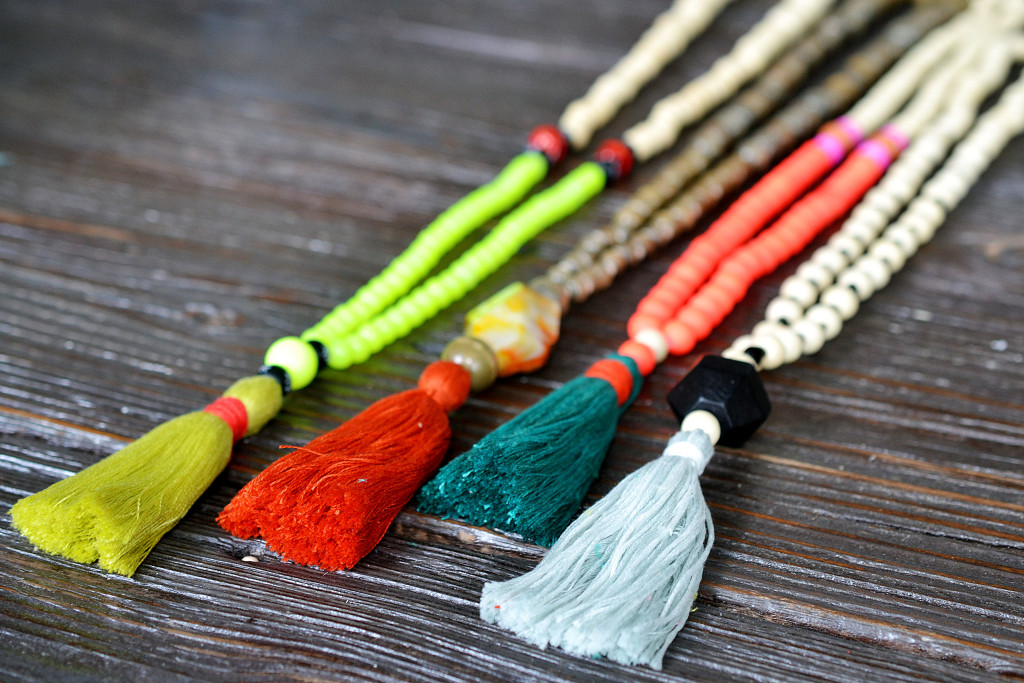
The best thing about these tassel necklaces is that you can use whatever beads you want (color and shapes), use big beads, pretty stones, glass beads, wooden beads. You can make them as long or as short as you want (not too short that they can’t fit over your head!!). You can also use any color embroidery.
The personality in these necklaces are incredible. I want to make more and more and more.
Here’s some pictures of me wearing my first neutral one!
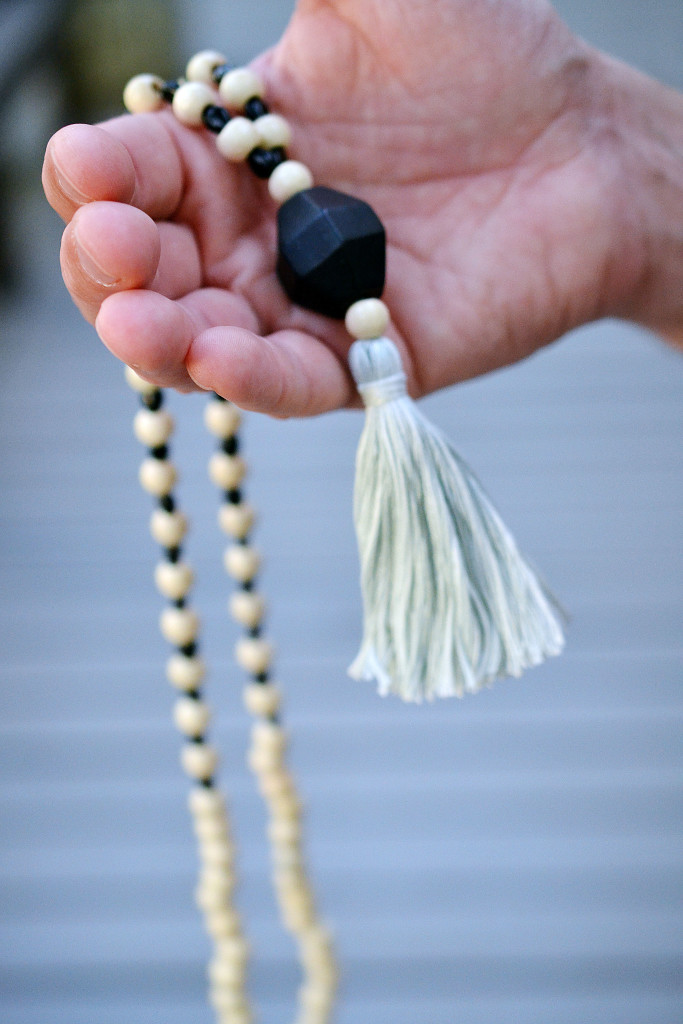


[serious shout out to my dad for putting his photographer shoes on and taking all the pictures of me wearing the black and cream necklace. Maybe my skills originate from him! Thanks daddy, you’re the best :)]
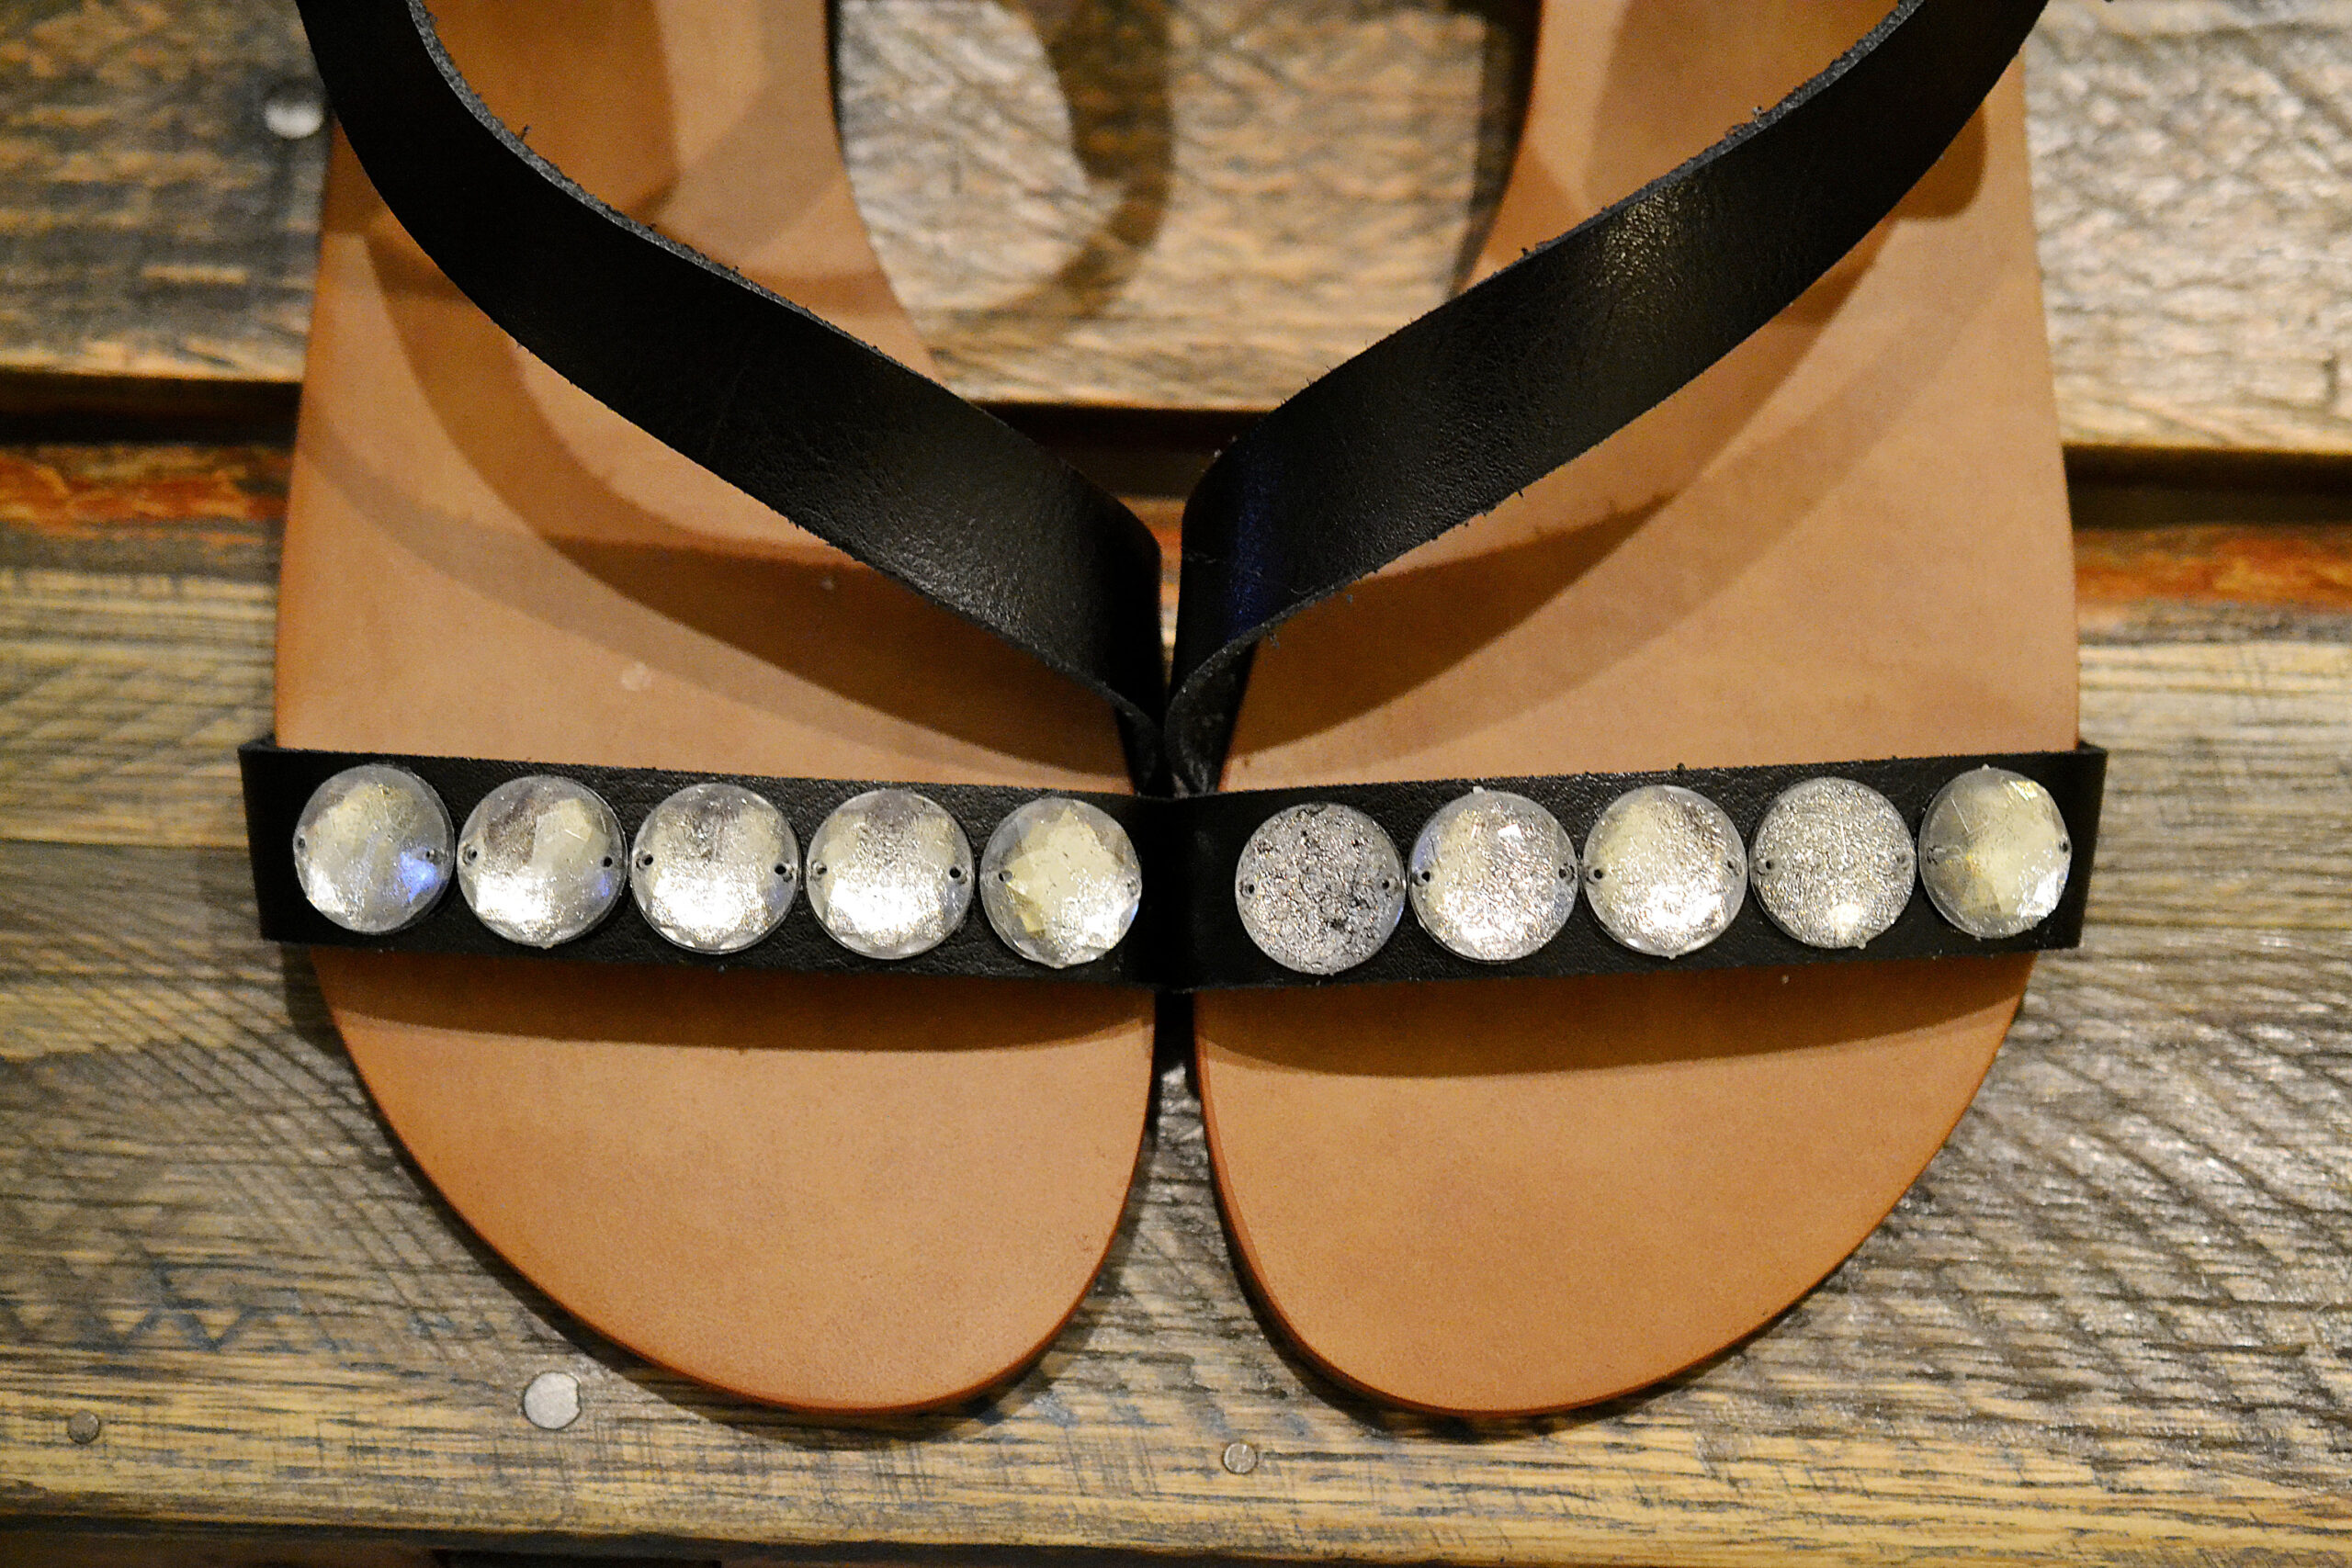
This outfit must of been a diy one… the tutorial to bling those shoes can be found here! And my romper only cost $10.90- steal of an outfit.
We worked out that each necklace will cost about $10-$15 depending on the beads/embroidery already purchased. If you purchase everything you need for this necklace it will not cost more than $20.
I hope you can follow the steps to make these, they are so worth it!
Save your money and learn something new. Hope you love these.




28 DIY Tassel Necklace - Easy To Make Necklace Ideas
[…] Have a look at this diy tassel necklace with tutorial and see how you can also make this all by yourself. This is a step by step process and you can easily get along with it. You will need wooden beads in any color, neon beads, embroidery thread, dental floss, tiny circular hoops, variety of big and small beads, cardboard, scissors, cutting board and fabric glue. Tutorial […]